Vacation-proof your garden with a DIY drip irrigation system
The student becomes the teacher as Tanja Babich shares her go-to garden hack

CHICAGO (WLS) -- Going on vacation doesn't have to mean coming home to wilted plants.
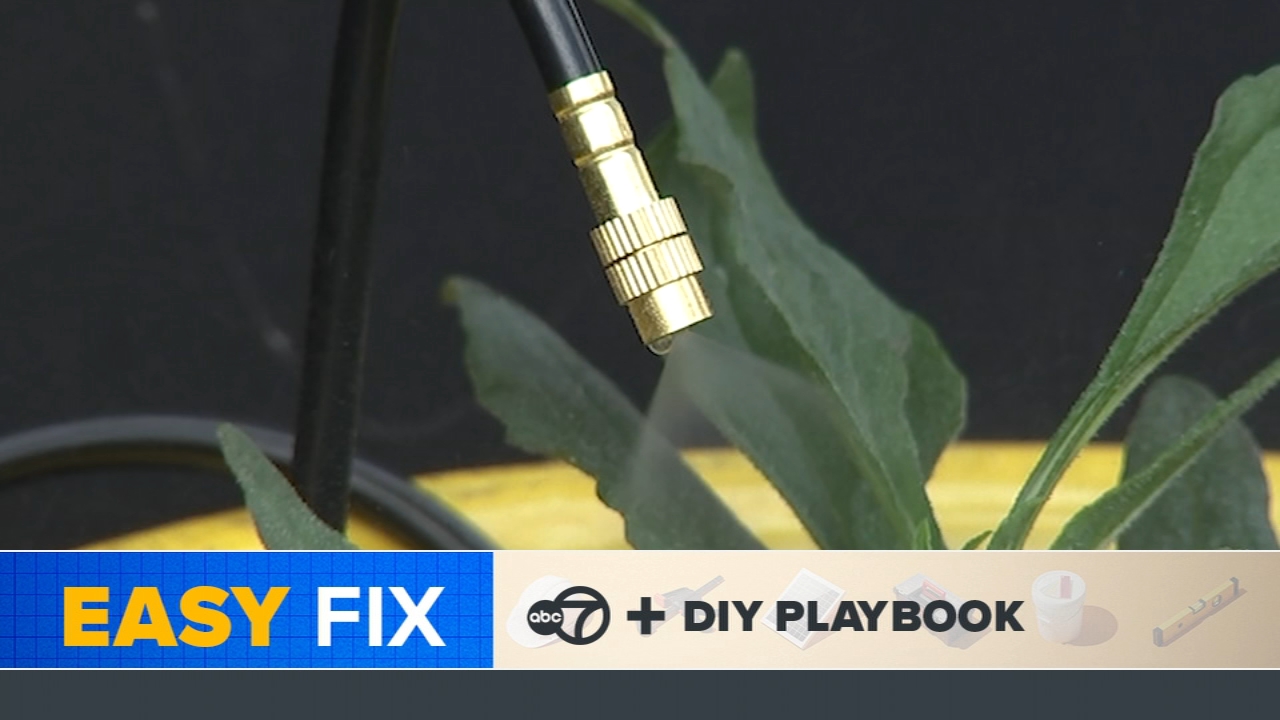
In this Easy Fix, ABC7's Tanja Babich takes over teaching duties, showing DIY Playbook founder Casey Finn how she installed a simple drip irrigation system on her rooftop garden. The setup automatically delivers water to plants, helping them stay healthy during hot summer days - even when you're away.
"It's been a lifesaver," Babich said. "It lets me go on vacation without worrying about finding someone to water everything."
Designed for container gardens, patios, rooftops or traditional garden beds, a basic drip irrigation system can be installed in less than an hour and requires only a handful of supplies.
What you'll need
-Outdoor spigot
-Drip irrigation kit, including:
-1/4-inch tubing
-Adjustable nozzles or drip rods
-Three-way quick connectors
-End stoppers
-Hose splitter
-Tube anchors
-Irrigation support stakes or zip ties
-Scissors
-Timer (optional)
Step-by-Step Breakdown
Step 1: Connect the hose splitter
Attach the hose splitter to your outdoor spigot, making sure the seal is tight and leak-free.
If you want watering to happen automatically, install a timer between the spigot and splitter.


Step 2: Run the tubing
Insert one end of the irrigation tubing into the hose splitter and run the line to your plants.
Measure as you go and cut the tubing where needed.
Step 3: Install the drip rods
When you reach a plant, cut the tubing and attach a three-way connector. Insert each end of the tubing into the horizontal openings, then place the bendable drip rod into the vertical opening.
Continue connecting plants until the line reaches its final destination.
Step 4: Secure the system
Use irrigation stakes to secure tubing in soil or zip ties if you're attaching the system to a fence or railing.
This helps keep the drip rods positioned exactly where water is needed.
Step 5: Anchor the tubing
To keep things neat and tidy, use tube anchors to secure the line along a wall, fence or perimeter surface.
Step 6: Add a timer
A timer is optional but highly recommended for anyone who travels frequently.
Once connected, the system can water plants automatically at scheduled times, allowing gardeners to "set it and forget it."
Important tips
-If you're using 1/4-inch tubing, avoid overloading a single line. Babich recommends limiting each line to about six to eight drip rods to maintain adequate water pressure.
-It's also a good idea to periodically run water through the system during installation to make sure each connection is flowing properly.
-Once the system is up and running, occasional maintenance can help keep everything working efficiently.
Easy Fix Pro Tip
Check your drip rods throughout the season to make sure they aren't clogged. Clearing a blockage early is a simple way to ensure every plant receives the water it needs and can help prevent thirsty, stressed plants during the hottest days of summer.
With just a few inexpensive supplies and a little setup time, this drip irrigation system can help keep your garden thriving - whether you're home enjoying it or away on vacation.